
Well i promisse that i will get the time for making some youtube videos for this😅.
Ahoy, mateys! Welcome back to Python Web Scraping 101. Now it’s time to set sail and get our hands dirty with some real scraping! In the last part, we explored the basics of web scraping. Today, we’ll build our trusty “data pirate skiff” – our Python environment for web adventures.
Preparing Your Pirate Workspace
There are two ways to set this up. You can use Google Colab, a cloud-based environment, which is great for beginners. But for a more traditional approach, follow these steps:
- Install Python: Head over to the Windows App Store and search for “python.” Download and install Python 3.10 (or the latest version available).
- Install an IDE (Integrated Development Environment): An IDE provides a user-friendly interface for writing and running your Python code. We’ll use Visual Studio Code (VS Code) in this example. Download VS Code from https://code.visualstudio.com/download.
- Setting Up VS Code and Virtual Environment: Open VS Code and access the terminal (the command prompt). Here’s a step-by-step breakdown:
Installing python in Windows
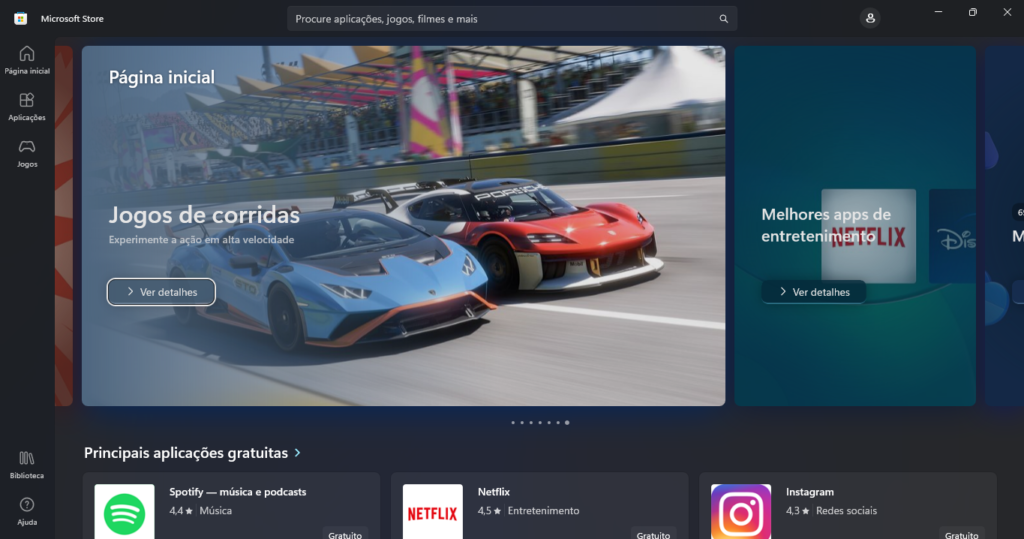
Go to Microsoft Store
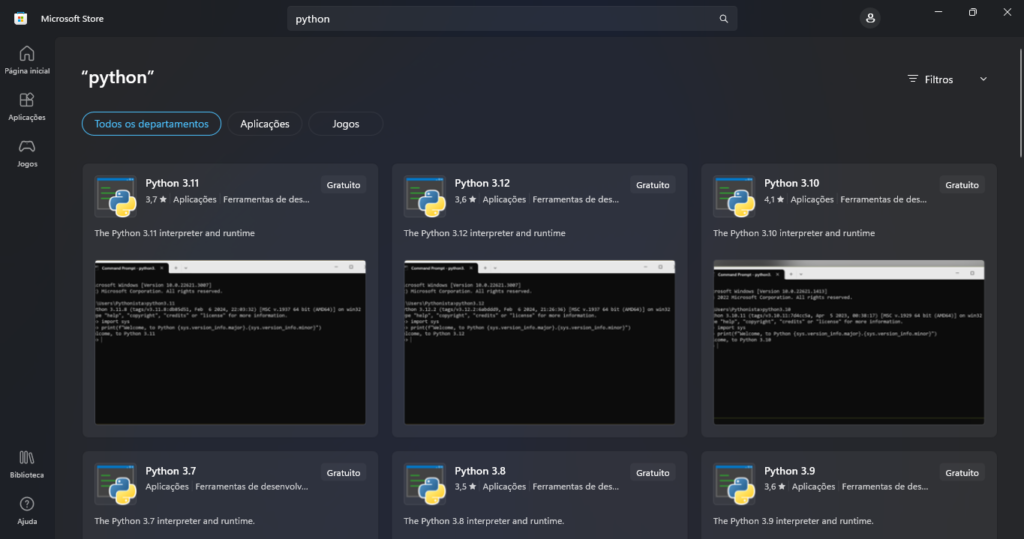
Search for “python”
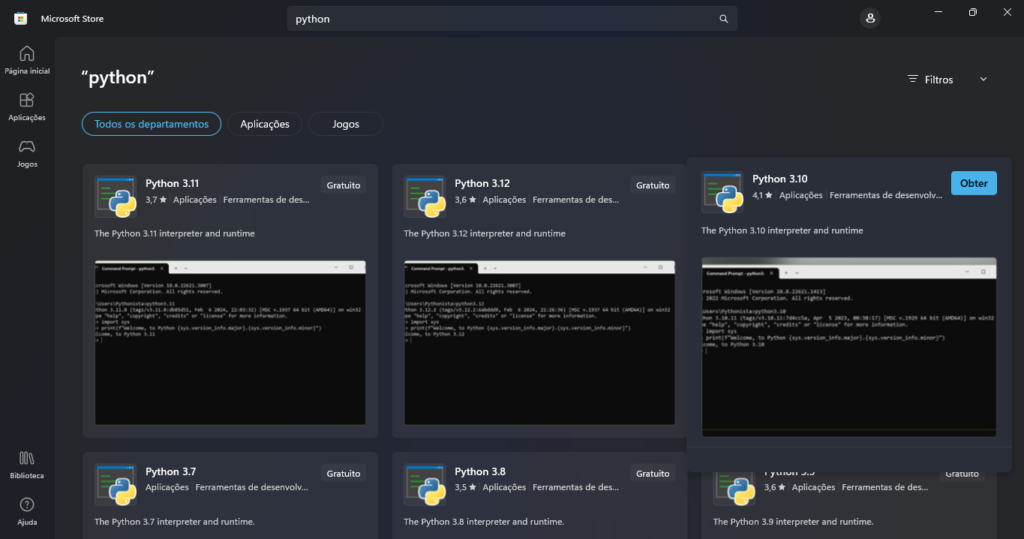
Select python 3.10 and install.
And you are ready to go!
Install the IDE VS Code:
It’s almost self explanatory but here we go:
- Go to the following url https://code.visualstudio.com
- Download the executable file.
- Install in your system
Almost there data pirate, hang on!
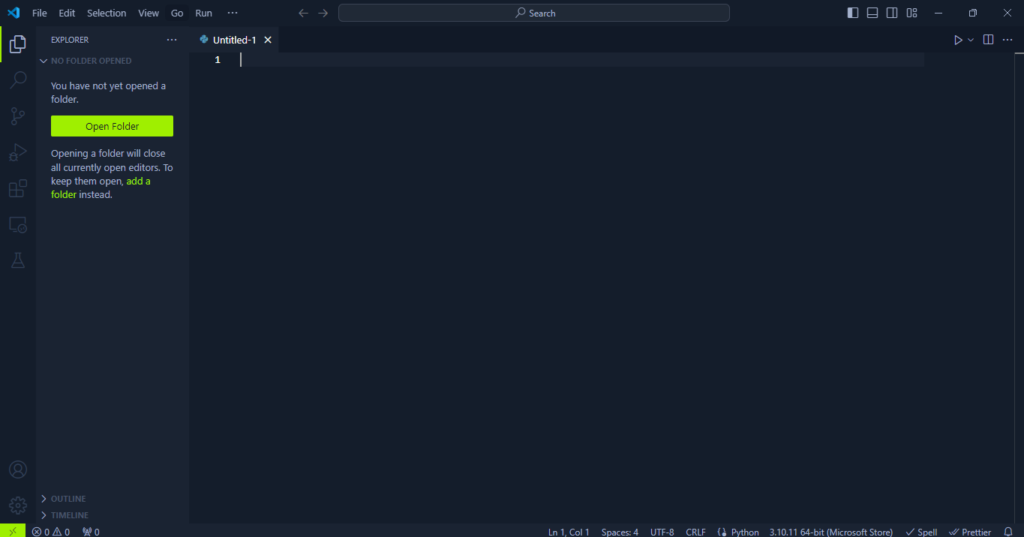
Open you VSCode
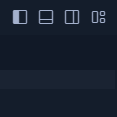
Open the command prompt
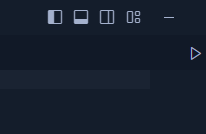
Just need to toggle in that icon
At this moment your IDE should look like this.
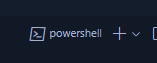
Go to the tab where it says powershell
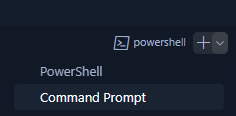
And change it to Command Prompt
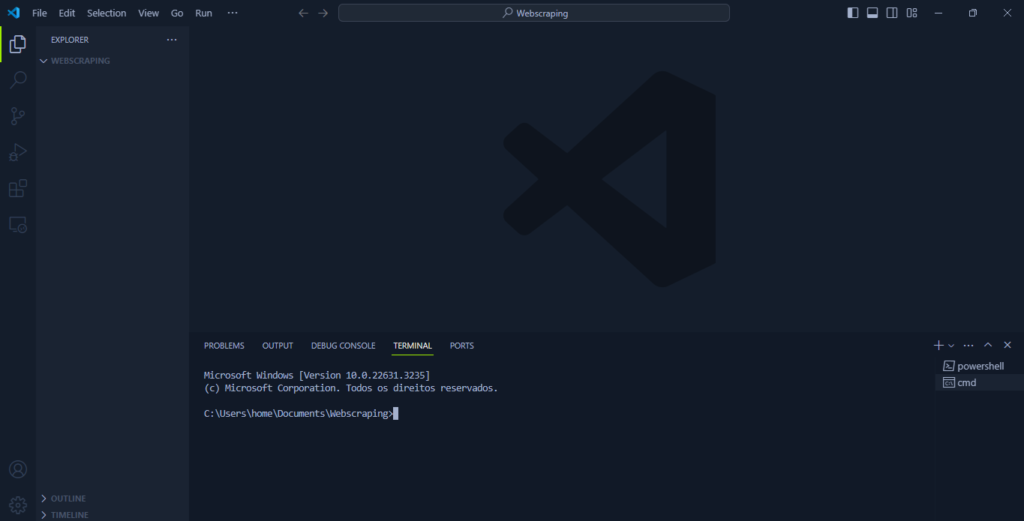
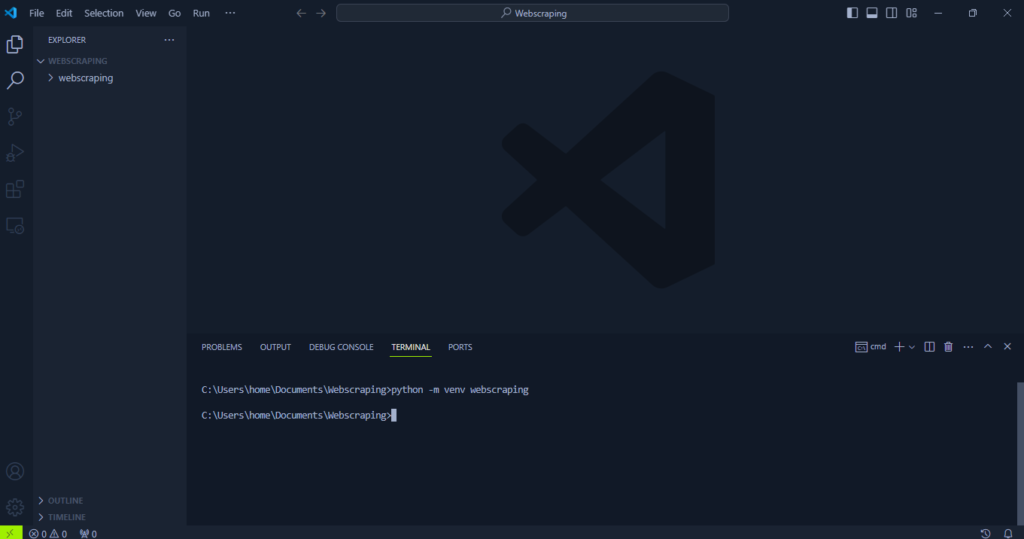
Create a new folder and drag it to the VSCode icon. On the hard part is done, you should have something like this, your folder in the left your command line at the bottom
Creating your venv
OK data pirate this is it, the moment that we can go into your skiff. To make this possible we need to create your virtual environment with the command:
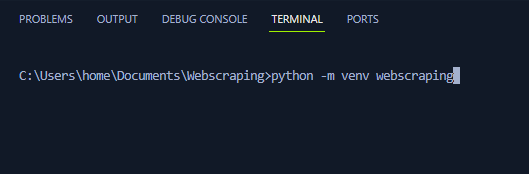
python -m venv your_project_name_hereDont forget to replace “your_project_name_here” with your desired name. This creates a virtual environment isolated from your system’s main Python installation.
you will see that VSCode has a new folder that contains all of your project pakages
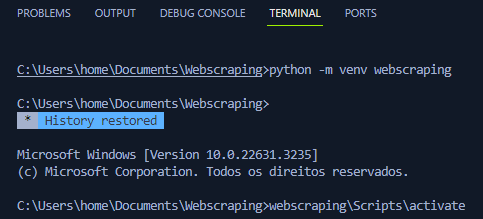
When you want to use this environment, activate it within VSCode. To do that just access your directory trough the command prompt and run the activate.bat
Install Required Libraries:
Now, activate your virtual environment and install the libraries we’ll need for web scraping. These libraries help us send requests to websites and handle responses:
requestshttplib2
To install these two libraries we need python pakage manager “pip”. Run the following commands
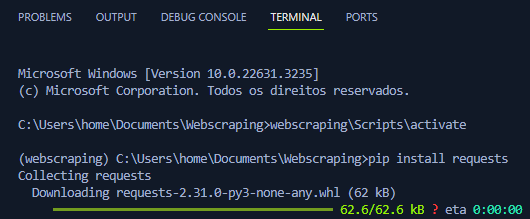
pip install requests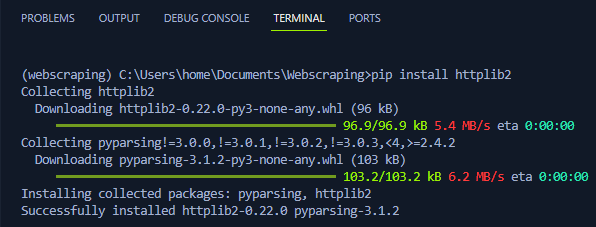
pip install httplib2Congratulations, data pirate! You’ve set up your Python environment and installed essential libraries for web scraping. In the next part, we’ll dive into our first web scraping adventure!
Deixe um comentário